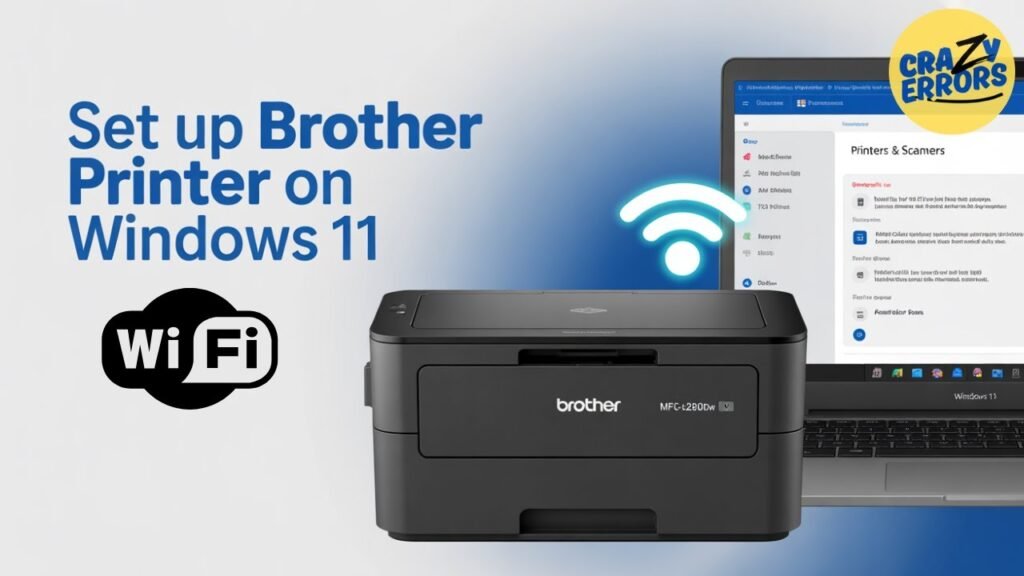
Setting up a new Brother printer—especially models like the Brother MFC-L2820DW—is easy when you follow the right steps. Whether you’re installing it for the first time or connecting it to a new Wi-Fi network, this guide walks you through the complete Set Up Brother Printer Wi-Fi on Windows 11 process, including driver installation, wireless setup, firmware updates, and test printing.
Read: Brother Printer Setup
Set Up Brother Printer Wi-Fi on Windows 11
1. Download the Correct Brother Printer Drivers
The first step to setting up any Brother printer is installing the latest official drivers.
How to download the driver:
- Open your preferred web browser (Chrome, Edge, Firefox, etc.).
- Type your printer’s model number followed by the word “driver”
- Example: Brother MFC L2820DW driver
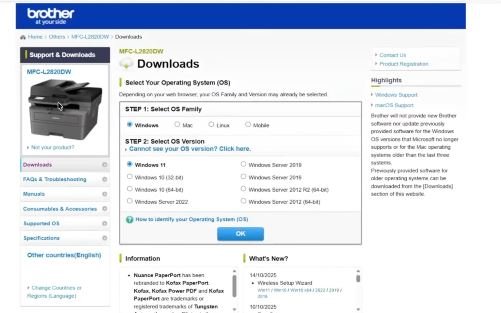
- In the search results, only click on the official Brother website, which is: support.brother.com
Selecting your driver
- Once on the site, choose your operating system (e.g., Windows 11).
- You will see a list of compatible drivers, utilities, tools, and firmware updates.
- For the smoothest experience, choose Easy Setup.
- Download and open the installer.
2. Install the Driver Using Easy Setup
Once you open the Easy Setup file:
- Click Yes if prompted by Windows.
- Click Next on the welcome screen.
- Accept the license agreement → click Next.
- Enter or select your printer model number when asked.
- If you have a Brother account, log in or create one—or simply skip it.
3. Choose Your Connection Type (Wi-Fi / USB / Ethernet)
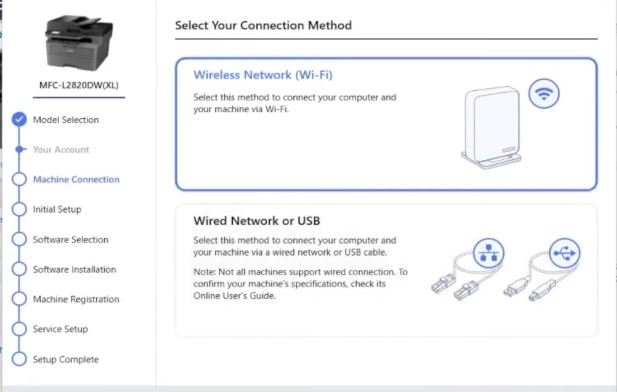
You will now see three connection options:
- Wireless Network (Wi-Fi)
- Wired Network (Ethernet cable)
- USB Cable
For this guide, select:
✔ Wireless Network Connection → click Next
4. Connect Your Brother Printer to Wi-Fi
A new Wireless Device Setup Wizard window will appear.
If your printer is new or in discovery mode:
- You will automatically see the available Wi-Fi network.
- Click Next to continue.
If Wi-Fi is not enabled on the printer:
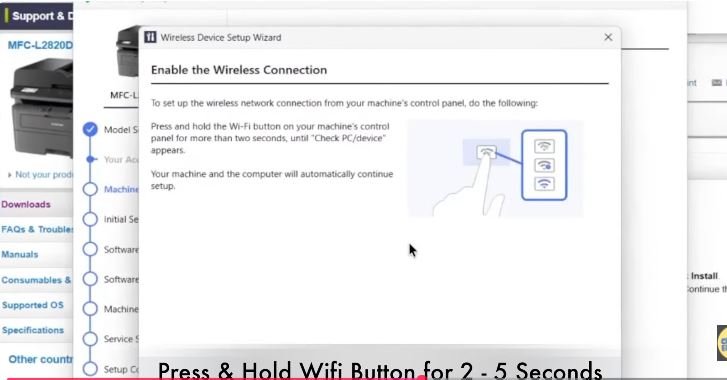
Use this simple trick for most Brother MFC models:
- Press and hold the Wi-Fi button on the printer for 2 seconds.
- Wait until “Check PC or Device” appears on the screen.
- Your printer will now enter Wi-Fi setup mode.
Once your Wi-Fi network is detected:
- Select it
- Click Next
- Wait for the connection to complete
You should now see a confirmation window showing your printer is successfully connected.
5. Complete the Software Installation
After Wi-Fi setup:
- Choose between:
- Express Installation (recommended)
- Custom Installation (advanced users)
- Click Next to continue.
- You may choose to:
- Register your printer
- Or skip printer registration
If your printer has outdated firmware, the installer will notify you.
✔ Click Update to install the latest firmware.
This ensures better performance and fewer errors in the future.
6. Verify Printer Installation in Windows 11

Once everything ends successfully:
- Press Windows Key + I to open Settings.
- Go to Bluetooth & Devices.
- Click on Printers & Scanners.
- Locate your printer—e.g., Brother MFC-L2820DW.
- Click it and select Print a test page.
If the test page prints correctly, your setup is 100% complete.
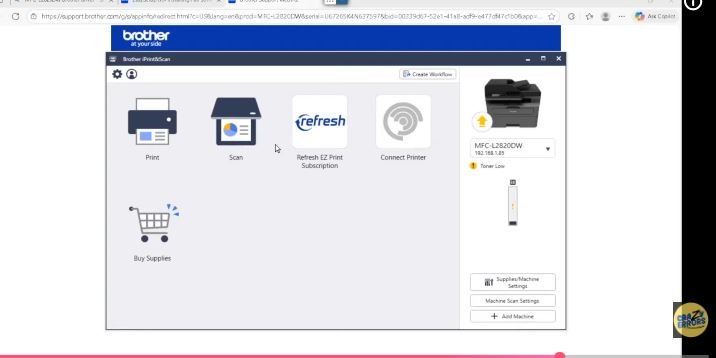
7. Your Brother Printer Is Now Ready!
You can now:
- Print wirelessly
- Scan from your computer
- Update firmware
- Access all Brother tools and utilities
The setup works the same way for most modern Brother printer models.
Conclusion
Setting up a Brother printer like the MFC-L2820DW on Windows 11 is a simple process when you follow the steps in the right order—download the official drivers, enable Wi-Fi, run the wireless setup wizard, complete installation, and verify everything from Windows settings. With the full driver package installed, your printer will run smoothly with all features available, including scanning, wireless printing, and maintenance tools. If you found this guide helpful, make sure to explore more tech tips, printer solutions, and troubleshooting tutorials on our blog or YouTube channel.