
DYMO Label Printer Setup And Support Guide
Ensure your DYMO Label Printer is installed seamlessly and ready to go instantly.
DYMO Label Printer Set Up
DYMO is a well-known brand for label printers, used by businesses, offices, and even home users who want to print shipping labels, barcodes, or file labels. DYMO printers are compact and reliable, but many users face trouble during the first setup, especially with drivers, Wi-Fi, or software installation.
At Print Setup Guide, we make DYMO Label Printer Setup easy. Here’s a step-by-step guide for setting up your DYMO printer on Windows, Mac, and Wi-Fi. If you run into issues, our technicians are here with paid remote support to help you get printing quickly.
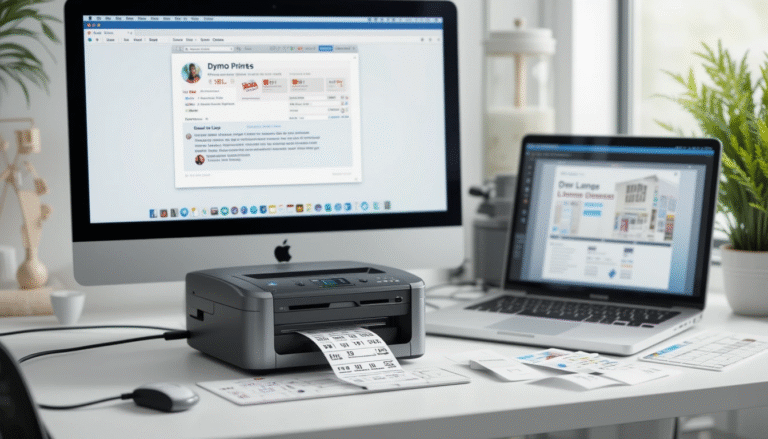
DYMO Lable Printer Setup for Windows Users
- Download DYMO Software
- Visit the DYMO Support site.
- Enter your model (e.g., LabelWriter 450, LabelWriter Wireless).
- Download the latest DYMO Connect Software or DYMO Label Software (DLS) for Windows.
- Install Software
- Run the downloaded file.
- Follow the installation prompts.
- Connect your printer via USB when instructed.
- Add Printer in Windows Settings
- Go to Start > Settings > Devices > Printers & Scanners.
- Click Add a printer and select your DYMO printer.
- Test Print a Label
- Open the DYMO Connect software.
- Choose a template and print a test label.
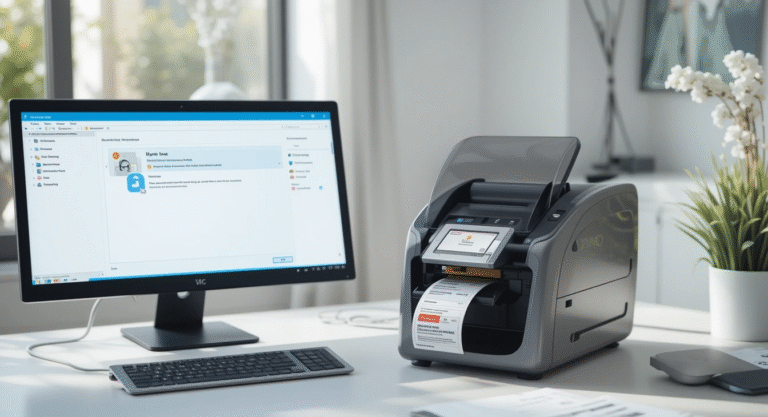
DYMO Label Printer Setup on Mac
- Download Software for macOS
- Go to DYMO’s support site.
- Download the DYMO Connect Software for Mac.
- Install and Connect
- Open the downloaded file and follow the on-screen steps.
- Connect the printer via USB or Wi-Fi (if supported).
- Add Printer in System Settings
- Go to Apple Menu > System Settings > Printers & Scanners.
- Press + and select your DYMO printer.
- Print Test Label
- Open DYMO Connect.
- Print a sample label to confirm setup.
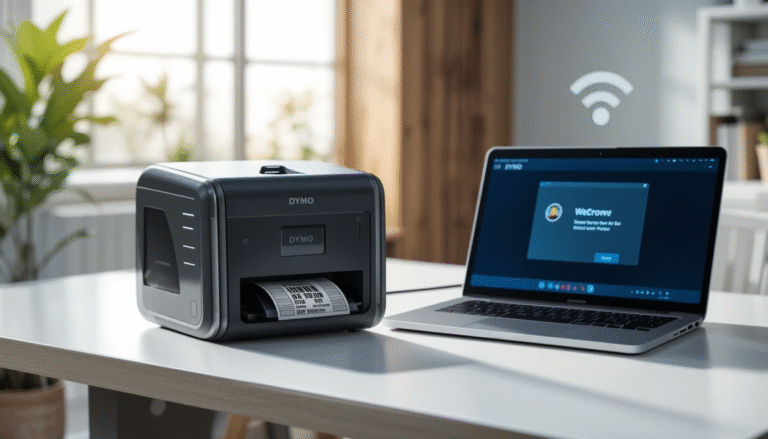
DYMO Wi-Fi Setup (For Wireless Models like LabelWriter Wireless)
- Using WPS (If Router Supports It)
- Hold the Wi-Fi button on the DYMO printer until it flashes.
- Press the WPS button on your router.
- Once connected, the Wi-Fi light will stay solid.
- Manual Wi-Fi Setup
- Connect to the DYMO printer’s temporary Wi-Fi network (shown in your list of networks).
- Open the DYMO setup utility on your computer or mobile device.
- Select your home/office Wi-Fi, enter the password, and connect.
- Mobile Setup via DYMO Connect App
- Install the DYMO Connect app (iOS or Android).
- Add your printer and connect via Wi-Fi.
Common DYMO Printer Setup Problems
- The computer did not detect the printer.
- Labels are not feeding properly.
- DYMO software is not installing.
- Wi-Fi setup fails, or the printer disconnects often.
- Print quality issues (faded or cut-off labels).
Third-Party Remote Support for DYMO Printers
If your DYMO printer is still not working after following these steps, don’t stress. At Print Setup Guide, we offer paid remote support for DYMO printers. Our technicians can:
- Install and configure DYMO Connect software.
- Fix driver and USB connection problems.
- Troubleshoot Wi-Fi or mobile app setup.
- Resolve common printing errors like blank labels or misalignment.
This way, you don’t lose valuable time struggling with technical issues we handle everything for you.
Get Expert Help
📞 Call us now or 📩 send a support request. Our experts will set up your DYMO Label Printer Setup on Windows, Mac, or Wi-Fi and make sure you’re ready to print labels without hassle.
Disclaimer
Print Setup Guide is an independent third-party support provider. We are not affiliated with DYMO or Newell Brands. DYMO is a registered trademark of its respective owner. Our services are paid remote support, designed for customers who want quick, one-on-one help.