Configure Ricoh Printer on Windows, Mac, and Wireless Connection
Ricoh printers are known for innovation and speed, especially in office environments. But setup can sometimes be confusing, whether it’s installing drivers or connecting to Wi-Fi.
At Print Setup Guide, we make Ricoh Printer Setup simple. Here’s how to install and connect your Ricoh printer on Windows, Mac, and Wi-Fi. And if you’d like professional help, our team is available with paid third-party remote support.
Open Start > Settings > Devices > Printers & Scanners.
Click Add Printer.
Print Test Page
Right-click printer > Properties > Print Test Page.
Ricoh Printer Setup on Mac
Download Ricoh Drivers for macOS
From Ricoh’s support page, download drivers for your model.
Add Printer
Go to System Settings > Printers & Scanners.
Press +, select your Ricoh printer.
Test Print
Use Printer Utility to run a test page.
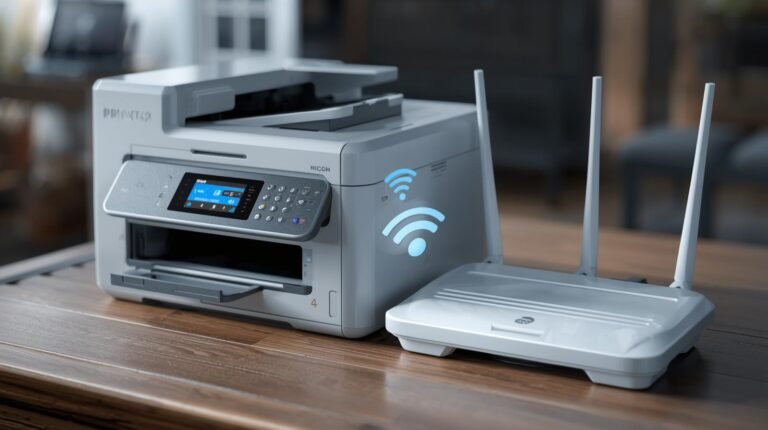
Ricoh Wireless Printer Setup
Download Ricoh Drivers for macOS
From Ricoh’s support page, download drivers for your model.
Add Printer
Go to System Settings > Printers & Scanners.
Press +, select your Ricoh printer.
Test Print
Use Printer Utility to run a test page.
Frequent Ricoh Setup Issues
Third-Party Remote Support for Ricoh Printers
Printer not found on computer.
Keeps going “offline.”
Drivers not recognized.
Wi-Fi unstable.
At Print Setup Guide, we provide paid remote support for Ricoh printers. Whether it’s drivers, connectivity, or advanced setup, our experts can handle it for you.
Get Help Today
📞 Call us now or 📩 send a request. Our Ricoh printer experts will set up your printer quickly and correctly.
Disclaimer
Print Setup Guide is an independent third-party support provider. We are not affiliated with Ricoh Company Ltd. Ricoh is a registered trademark of its owner. Our services are paid support created for customers who need fast, personalized assistance.